

Options for older vehicles audio systems
- Franks AudioMotive

- Nov 20, 2019
- 6 min read
I am a car lover, a car freak, especially classic vehicles.In fact I have an imaginary collection in head of classic cars I HAVE to buy and own before they get too old to find them (G body turbo buick or a el camino <3, 1970s mopar with a big block, fox body mustang, anything 1960s and prior)..
One thing that often comes into the topics of conversation when designing and building a sound system for a classic car is the desire to keep it original looking. To not have to cut up the vehicle. A concern of mine as an installer is not to cut any part of the vehicle that is structural, and not to add anything that can hinder the operation of a vehicle and or cause a crash. That would be the worst thing ever to get hurt as a result of this hobby.
Safety: For safety reasons it is always a good idea to mount your stereo equipment to your vehicle securely.
I am specifically talking about speakers or speaker boxes that may be placed on the rear deck or rear seat of the vehicle. This also applies to anything though really: amplifiers, stereo receivers, machetes, whatever you may be carrying. Make sure it is secured, tied down, so that during an accident it does not become dislodged and strike a passenger. A simple 6x9 speaker box could easily kill the driver or passengers if you were to be involved in a collision. Safety first.
Visually, I can understand the want to keep the vehicle looking factory. So here is where I will start.
As my ideas progress they will go less and less from factory but more and more towards excellent sound quality. And you will see, there are ways to do this without being too obtrusive or causing any safety concerns.

1960s Ford Mustang. Sorry for the poor picture quality but this is an aftermarket stereo receiver that is designed to fit into the original 2 shaft space. This particular one had an additional cd player that plugs into the back. You can see here that it was mounted directly below the radio for ease of use.
My honest opinion on these stereos. I would say the customer that buys this for their classic does it out of the neccessity to keep it looking factory. These are not very fancy, or easy to use. They do not all have the modern technology like bluetooth or navigation, but they fit well and you can get great sound out of these if you add the correct speakers as I will mention a little later. Furthermore most of them do have an auxilary input which you can use to link your phone to through bluetooth to listen to music if you purchase the correct bluetooth adapter. There are many on the market.


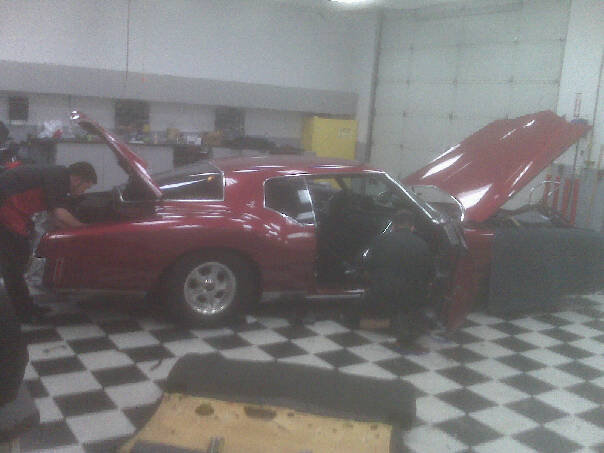
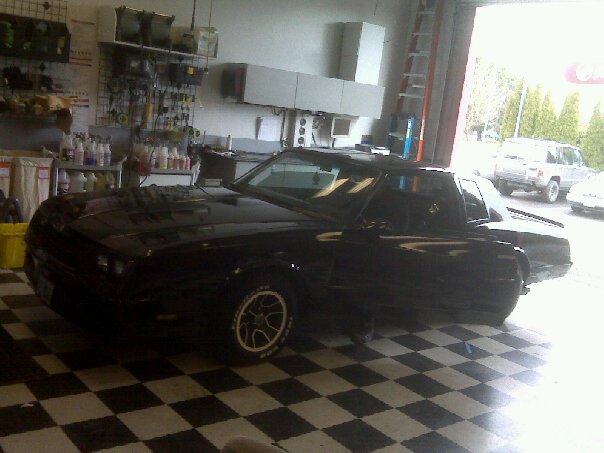
Ok here we go, one of my favorites. This one was a 1980s Monte Carlo, a G Body. For many of these vehicles from the late 70s and 80s there are aftermarket companies that make dash kits for the cars to fit a single din headunit. Here is an example of before and after fitting a Kenwood single din radio into the G body. It fit perfectly and there was no cutting needing to be done.
For a list of dash kits that I currently have in stock for resale please visit the shopping page.

There are tremendously many options in this catagory. These are actually made for boats, they are waterproof and small enough to be hidden in classic vehicles. I suppose if you needed to you could put them in the glovebox, under the dash, or even between the seats on a short length of wire.
Now, Speakers. This is where a lot of the confusion comes in. And the huge sacrifice of keeping it factory looking vs being able to enjoy good sound.
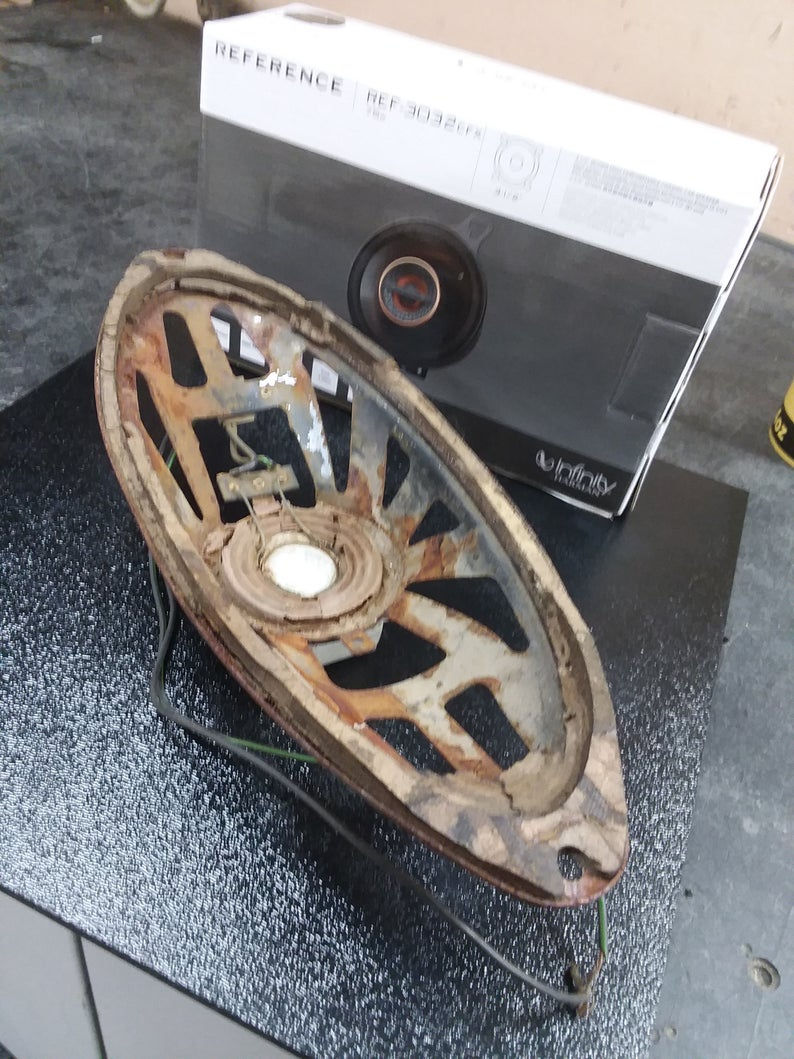
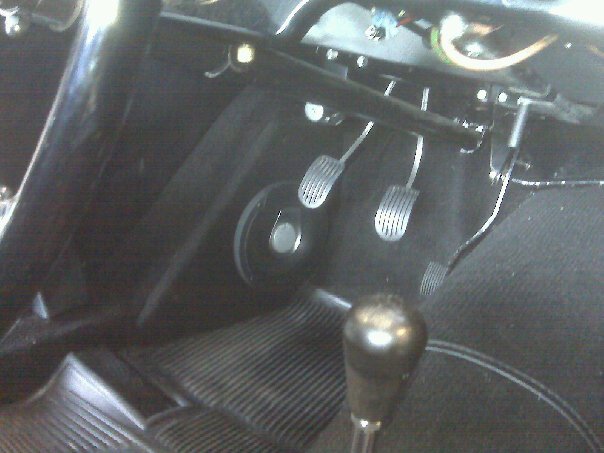
Here is the original speaker in a late 60s Ford Ranchero. It was a common option back then to get a radio receiver with a mono output. to a single center dash speaker. This was a great place to put a speaker because it placed all the vocals for listening to am radio right in front of your face, bouncing off of the windshield. This makes it extremely efficient and easy to hear the vocals, as long as your speaker is not the original one looking like the one in the picture. lol

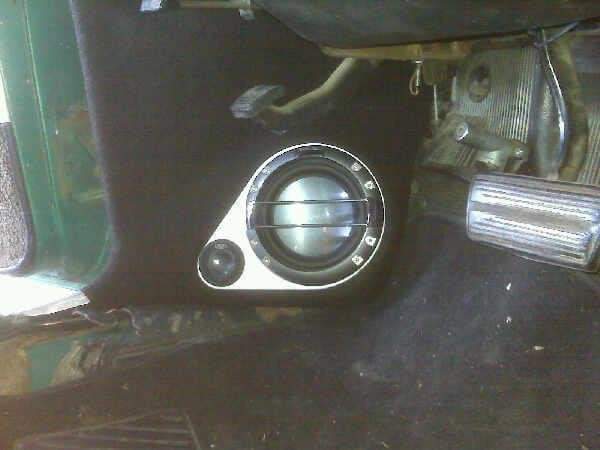
So as you can tel I had the infiniti reference 3.5"s behind the factory speaker and a fresh sheet of ABS plastic.

T
So here is my method, make a copy of the original speaker to then mount the two smaller ones in its place. The benefit is that now you get true left and right channels out of your new radio instead of mono which was honestly just old technology.
I use ABS because it is lightweight and rigid, and dark in color. It will not warp over time from rain or moisture and it is easy to use in my fabrication shop.
These adapters will allow the new speakers to bolt into the factory location.
You can also put some grill clothe over the top of them to make them more hidden from view.
Rear Package Shelf Location
This is a common option. In the past when stereo radio receivers came out so you could have left and right channels it was common to put them in the back package shelf firing up at the rear window.
A lot of enthuisiasts prefer to do this still to this day because it is so common that is does look factory a lot of the times.
Also, you can get incredible full range sound from a pair of 6x9s mounted in the rear deck of some cars. Yes I said full range meaning that you technically could get by without a subwoofer in certain vehicles (1979 camaro for example). The 6x9s will often play as low as most music of that era was recorded ( most and not all, pink floyd for example has way lower bass).
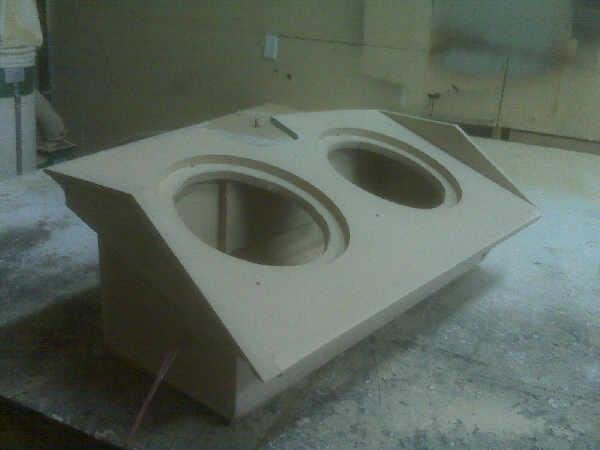
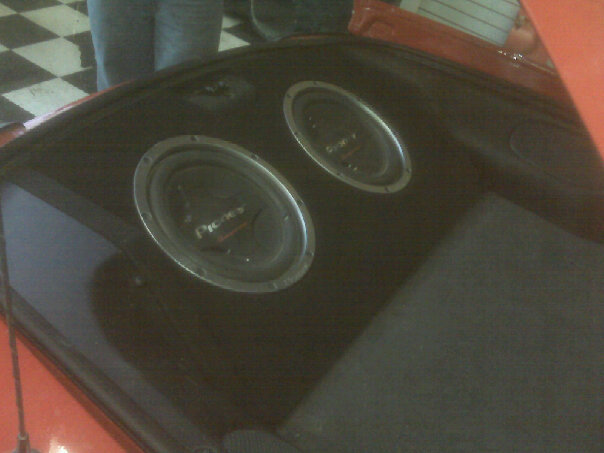
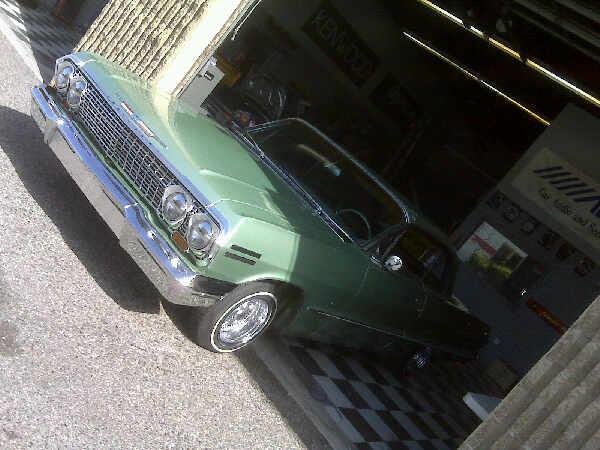
The pictures below are from a 1964 Chevy Impala I did. This customer chose some 6x9s for the rear but he chose a set that had a separate tweeter and did not come with grills. So in this case we fabricated new grills to hide the speakers and give a very clean but custom look.


In another instance this customer wanted to put 4 speakers in the rear deck of his 1979 Chevy Camaro. Similar template but different application for another completely custom, unique, but clean looking finished product.
I have saved both of these templates in my shop so if you would like anything similar to this then please contact me and I would be glad to do the installation, or at least mail you the custom made parts to install yourself.


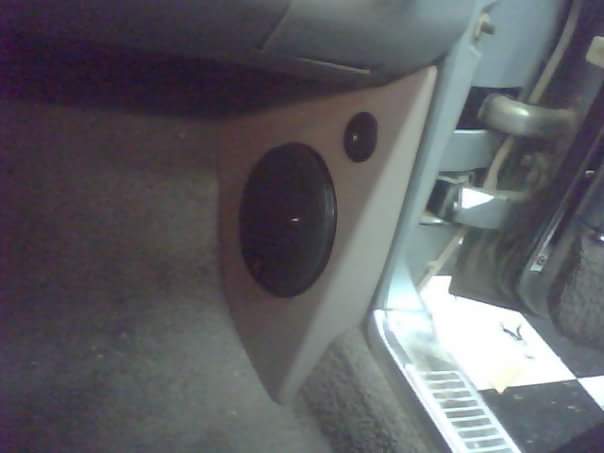
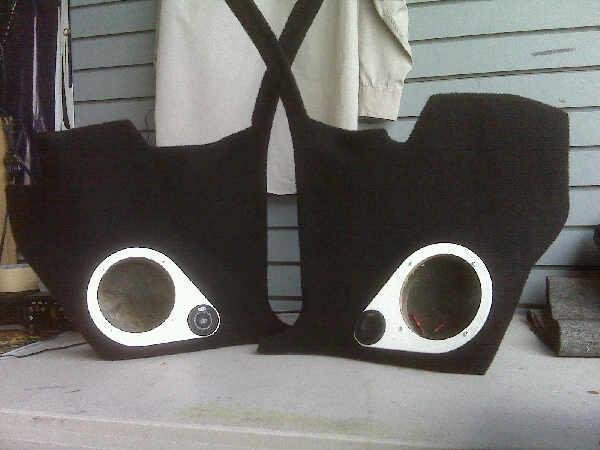
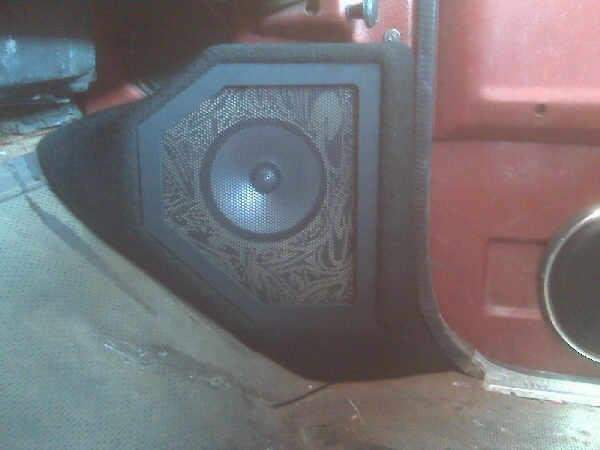
Ok so now that we see some nice ways to add rear speakers, I would like to show a little more custom way to add some front speakers. By doing custom kick panels you will often times be able to fit larger speakers which have better frequency response, more bass sound and not so tinny like the smaller 3.5" speakers.
Here are some vehicles and kick panels I had made for them. 1970s Cutlass 442, Chevy Corvette 1979, Chevy Pickup 1978, 1966 Lincoln Continental, Triumph?


Ok so that takes care of the Deck and speakers.
Honestly all speakers can sound better with an amplifier to drive them. Especially those smaller 3.5" from earlier. The benefits of an amp will be cleaner sound, and ability to set filters called crossovers which will keep the speakers, especially the 3.5", from playing any frequencies of sound they were not deisgned for like bass.
You can find many 5ch amps these days. Some of them even have a bluetooth link so you can play your phone. If they do not then you can add your own bluetooth dongle to the RCA inputs.
Now that we have covered that adding an amp helps in more ways than just adding volume. I want to point out that is ALSO gives you one huge additional benefit that most headunits cannot do on their own. Adding an amplifier can allow you to add a subwoofer in the vehicle. The subwoofer will add a tremendous sound that even the best 6x9s in the rear deck setup cannot match. A properly installed and tuned subwoofer or 5ch amp can provide incredibly full sound to the music. Strong bass without being overpowering, unless you like that sort of thing that is.
On many older vehicles, fortunately, they have incredibly large trunks.


There is usually a shelf above the rear axle. Sometimes there is a gas tank under it but I like to put the subwoofers up there, and amps too,
Here are some pics of the two cars above finished. I have done lots of classics and would be happy to help you with yours. That is why I am here. Please feel free to ask!


Comments